SETT usage guide
How to install, sign in, and track your work time, with notes for org admins on schedules, leave, business trips, overtime, and work day swaps.
Getting started
SETT is a desktop app that tracks your work hours, idle time, and which applications you use. You need your organization identifier and login credentials from your employer before you begin.
1. Install SETT

2. Sign in
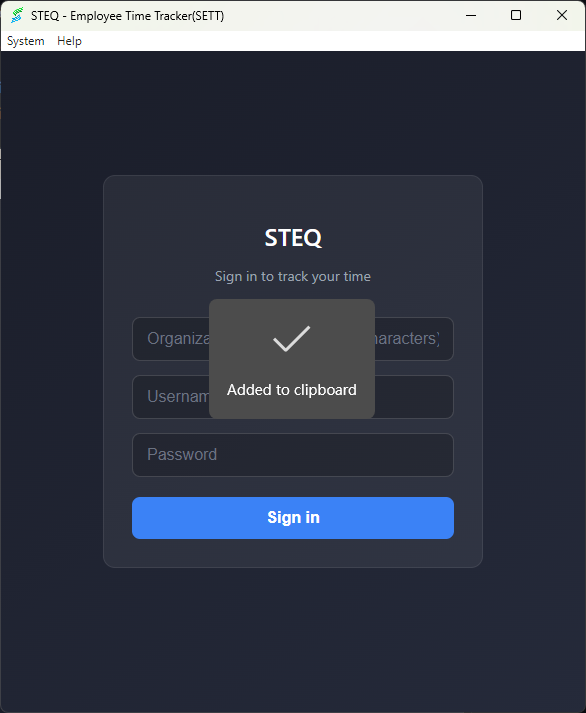
When you open SETT for the first time, you’ll see the sign-in screen. Enter the details provided by your organization:
- Organization identifier – Usually a short name (e.g. your company or team code). It must be 3–100 characters.
- Username – Your SETT username.
- Password – Your SETT password.
Click Sign in. If your organization requires it, you may be asked to accept terms and conditions or to change your password on first login.
3. Track your time
After signing in, you’ll see the main dashboard. Time tracking is simple:
4. Understanding the dashboard
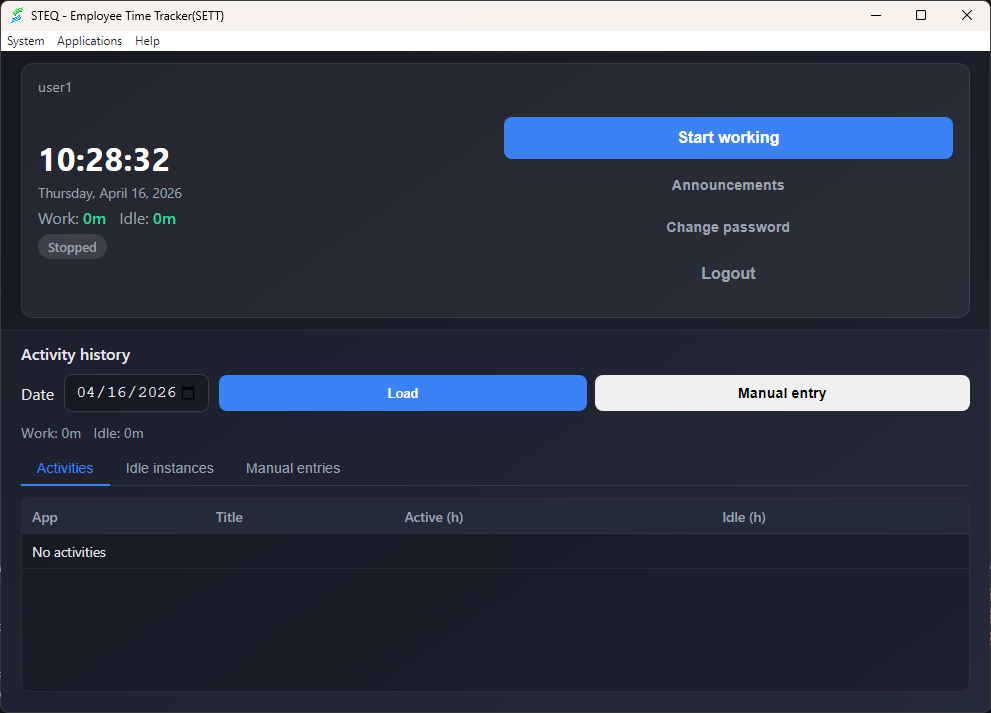
The top of the screen shows:
- Current time – The clock.
- Work – Total time counted as “working” today (active at the computer).
- Idle – Total time counted as “idle” today (no input for a while).
- Status – “Working”, “Stopped”, or “Idle”. “Idle” means you haven’t used the mouse or keyboard for a period; you may get a prompt to give a reason.
Use Change password to update your password, and Logout to sign out (remember to stop tracking first if you’re done for the day).
5. Idle time, reasons, and AFK work
If you step away from your computer, SETT will detect that you’re idle. Depending on your organization’s settings:
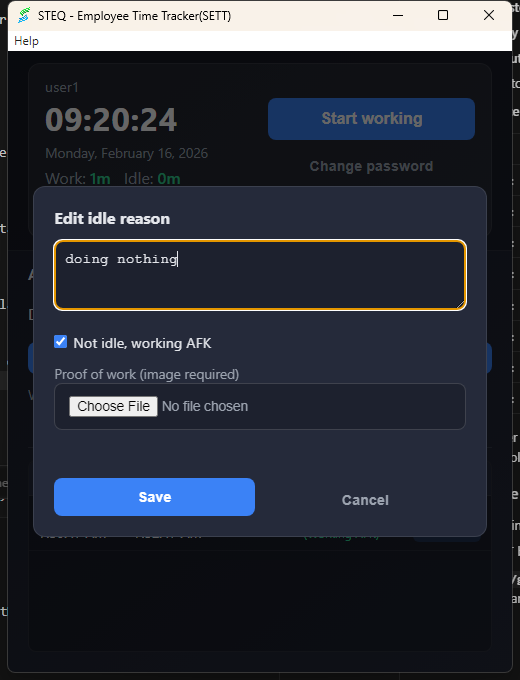
- You may see a small window asking for a reason for the idle period (e.g. “Meeting”, “Break”, “Lunch”). You can type a short description and submit.
- AFK work (labeled in the app as Not idle, working AFK): If you were actually working without using the mouse or keyboard—reading documents, in an in-person meeting, or similar—check this option and upload proof (an image). That period is recorded as work time away from the desk, not as idle/break time, in your history and reports.
You can also update idle reasons and AFK work later from the Activity history section (Idle instances tab).
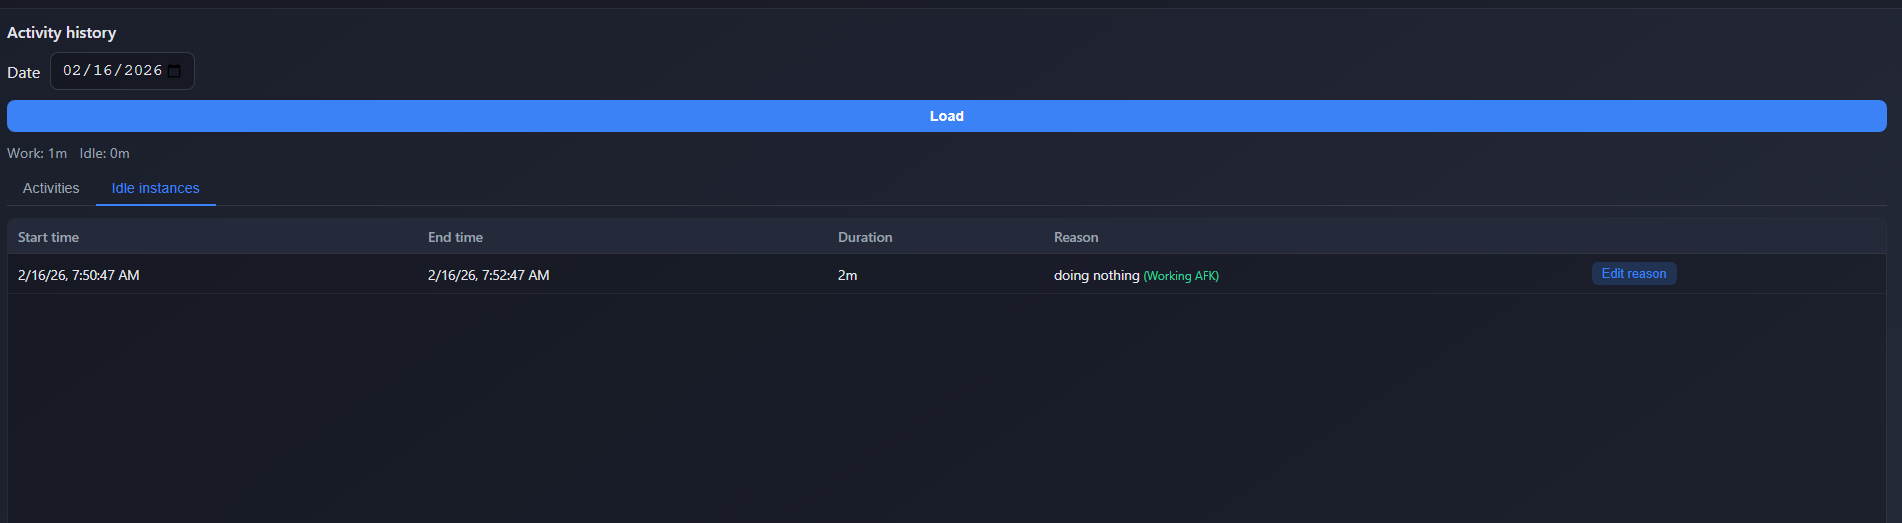
6. Activity history
Below the dashboard you’ll find Activity history. Use it to review your past activity:
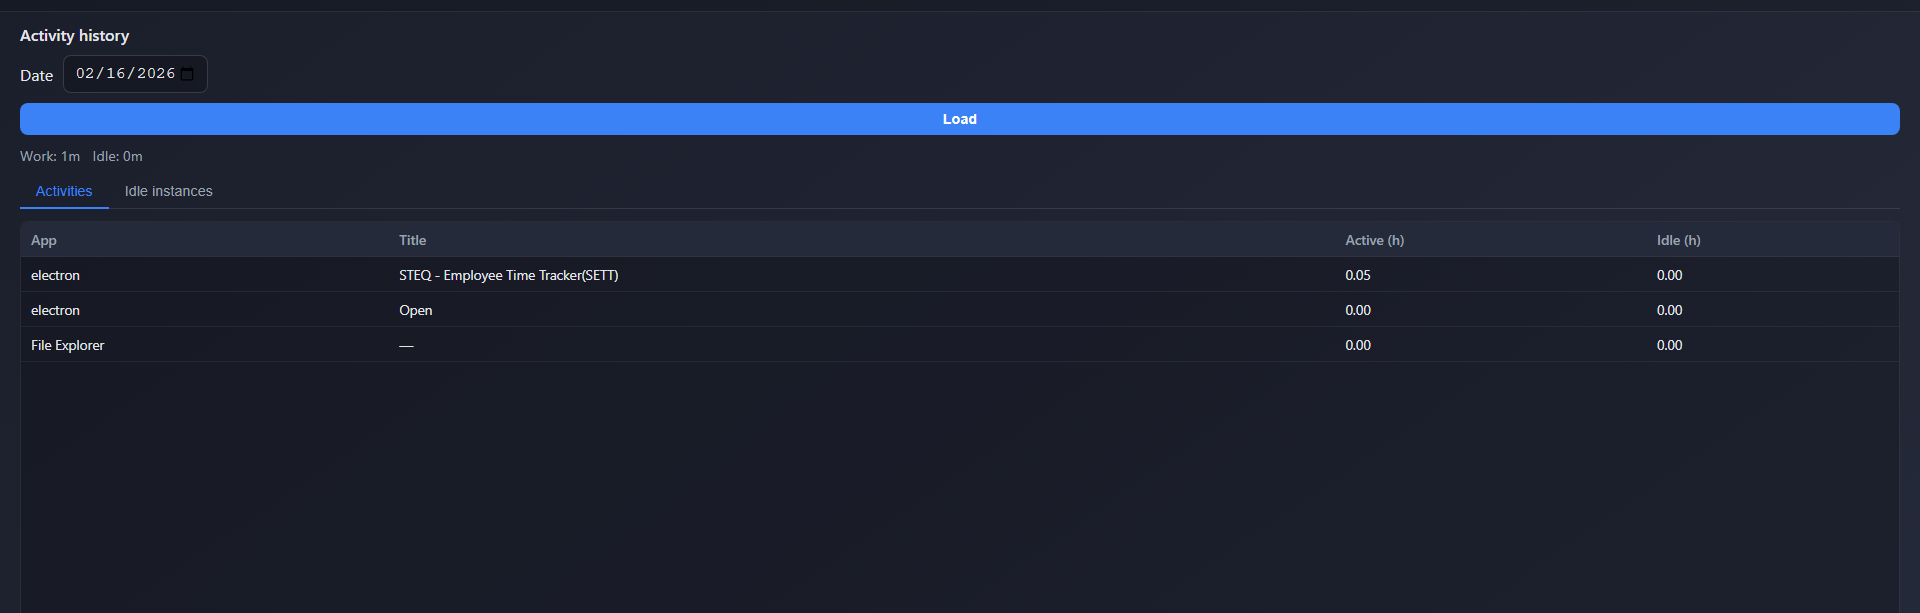
- Choose a date and click Load to see that day’s data.
- Activities tab – Lists apps and window titles, with how long each was active and how long you were idle in that app.
- Idle instances tab – Lists each idle period with start time, end time, duration, and reason. You can click to edit the reason or mark as AFK work (Not idle, working AFK; proof required) if you forgot to do it when prompted.
- Manual entries tab – Lists time you added yourself (see the next section).
7. Manual time entries (custom work periods)
Sometimes work isn’t visible as app usage—for example time on another device, travel, or tasks without the PC. You can log those periods as manual entries so your effort is documented.
8. Announcements
Your organization admins can publish announcements directly to SETT so everyone sees important updates in one place.
- Announcements support rich content (formatted text, links, and uploaded images/video) so instructions are easier to follow.
- SETT checks for newly published announcements and keeps an unread count so you can quickly see if anything is new.
- Older announcements remain available in the app feed, ordered by publish time.
9. Work schedules (org admin)
In the admin panel, Work schedules lets you create named schedule templates and assign them to employees.
- Define expected attendance per weekday (working vs non-working days).
- Set schedule rules such as expected work/effort hours and allowed timing windows used by attendance reporting.
- Set whether the schedule is Eligible for OT pay. This controls whether assigned employees can submit overtime requests.
10. Overtime requests
Employees assigned to a schedule marked Eligible for OT pay can submit overtime requests from the app.
- Create a request with work date, maximum hours, reason, and an optional supporting attachment (image or PDF).
- Pending requests can be edited or cancelled by the employee while the date has not passed.
- Org admins review requests in Overtime management and can approve, reject, or update approved maximum hours.
11. Business trip requests
Employees can submit business trip applications for travel done in advance or after the trip period, subject to manager/admin approval.
- Each request includes start date, end date, AM/PM coverage (half-day support, like leave), and a required reason.
- Pending requests can be edited or cancelled by the employee before review.
- Org admins review requests in Business trip management and can approve, reject, or cancel approved requests.
- In attendance reporting, approved business trip periods are counted as present on working days (excluding non-working days and holidays).
12. Work day swap requests
Work day swap lets employees exchange one scheduled working day with one rest day or holiday.
- Each request includes the two dates (working day to rest and rest/holiday day to work), reason, and optional attachment.
- Requests must use valid date pairs based on the employee’s current schedule and holiday calendar.
- After admin approval, the app applies calendar overrides so attendance and day status reflect the approved swap.
13. Urgent voice messages
Your manager or admin can send you urgent voice messages (short voice recordings) when they need to reach you quickly.
When you’re tracking (working)
Whenever you have clicked Start working, any new voice message sent to you will appear as a popup immediately so you can play it—whether you’re currently active at the computer or idle at that moment. Listen and close the popup when done.
Voice inbox
You can also open Voice inbox from the app menu at any time to see all voice messages sent to you. Each message shows who sent it and when. Click Play to listen. Messages you’ve already played stay in the list so you can replay them if needed.
14. System tray
You can minimize SETT to the system tray (the area near the clock in the taskbar). The app keeps tracking in the background. To open the window again, double-click the SETT icon in the tray. This way you can keep tracking without keeping the window open all day.
15. Logging out and closing
When you’re done for the day:
- Click Stop working so your time is recorded correctly.
- Click Logout to sign out. You can then close the window; if you only minimize to the tray, you’ll stay signed in and tracking will continue if you had left it running.
How to exit
To fully quit SETT, use either of these:
- Log out and close – Click Logout in the app, then close the window (click the × or use Alt+F4).
- Exit from the system tray – Right-click the SETT icon in the system tray (near the clock) and choose Exit. This closes the app without opening the window.
Tips
- Start at the beginning of your workday – Click “Start working” when you sit down so your hours are accurate.
- Stop when you leave – Click “Stop working” when you take a long break or finish for the day.
- Respond to idle prompts – If your organization uses idle reasons, filling them in helps keep reports clear.
- Use AFK work when needed – If you were reading or in a meeting without using the computer, mark the idle period as Not idle, working AFK so it counts as work; proof is required.
- Manual entries for off-PC work – Use Manual entry after you Stop working to log custom periods with description and proof; they appear under the Manual entries tab.
- Review announcements regularly – Check the announcements feed for policy changes, schedule updates, and other important organization notices.
- Use schedule-aware requests – Overtime is available only for schedules marked OT-eligible, and work day swaps must pair a scheduled workday with a rest/holiday date.
- Use business trip AM/PM correctly – For half-day travel, choose AM or PM accurately so attendance reflects presumed schedule time and effort.
- Check activity history – Use the history to see how your time was split and fix any missing or wrong idle reasons.
- Check Voice inbox – If your admin sends urgent voice messages, you’ll see a popup to play immediately when you’re tracking (Start working). Otherwise open Voice inbox from the menu to catch up later.